Objective
This SOP provides a step-by-step guide for team members to set up and navigate the WellConnect Business Suite effectively.
TABLE OF CONTENTS
- Key Steps
- 1. Sign In to WellConnect Business Suite 0:00
- 2. Navigate the Dashboard 0:32
- 3. Explore the Menu Features 1:59
- 4. Manage Opportunities 2:57
- 5. Utilise Webpages Module 3:23
- 6. Create and Manage Forms 5:01
- 7. Set Up Marketing Tools 6:15
- 8. Automate Processes 6:38
- 9. Host Courses and Communities 7:15
- 10. Manage Products and Payments 9:11
- 11. Collect Feedback with Reputation Module 10:18
- 12. Generate Reports 10:39
- 13. Access Member Resources 10:58
- 14. Seek Support 11:39
- Cautionary Notes
- Tips for Efficiency
The Video Guide
Key Steps
1. Sign In to WellConnect Business Suite 0:00
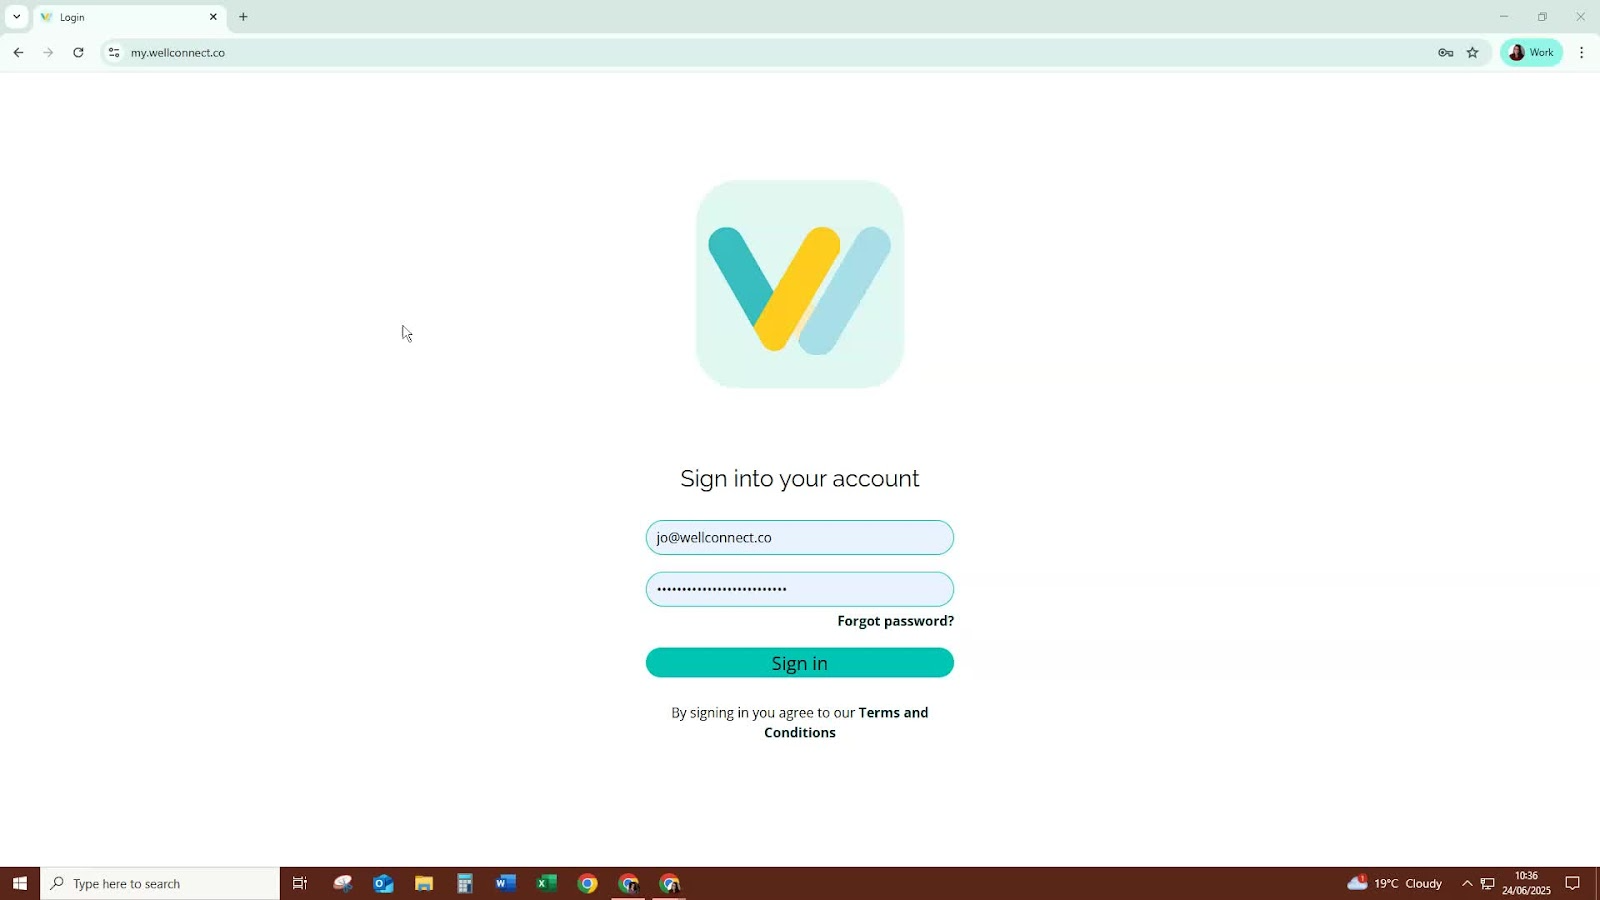
Go to the WellConnect Business Suite login page.
Enter your credentials to sign in.
Complete the verification code prompt.
Recommendation: Enable two-factor authentication for added security.
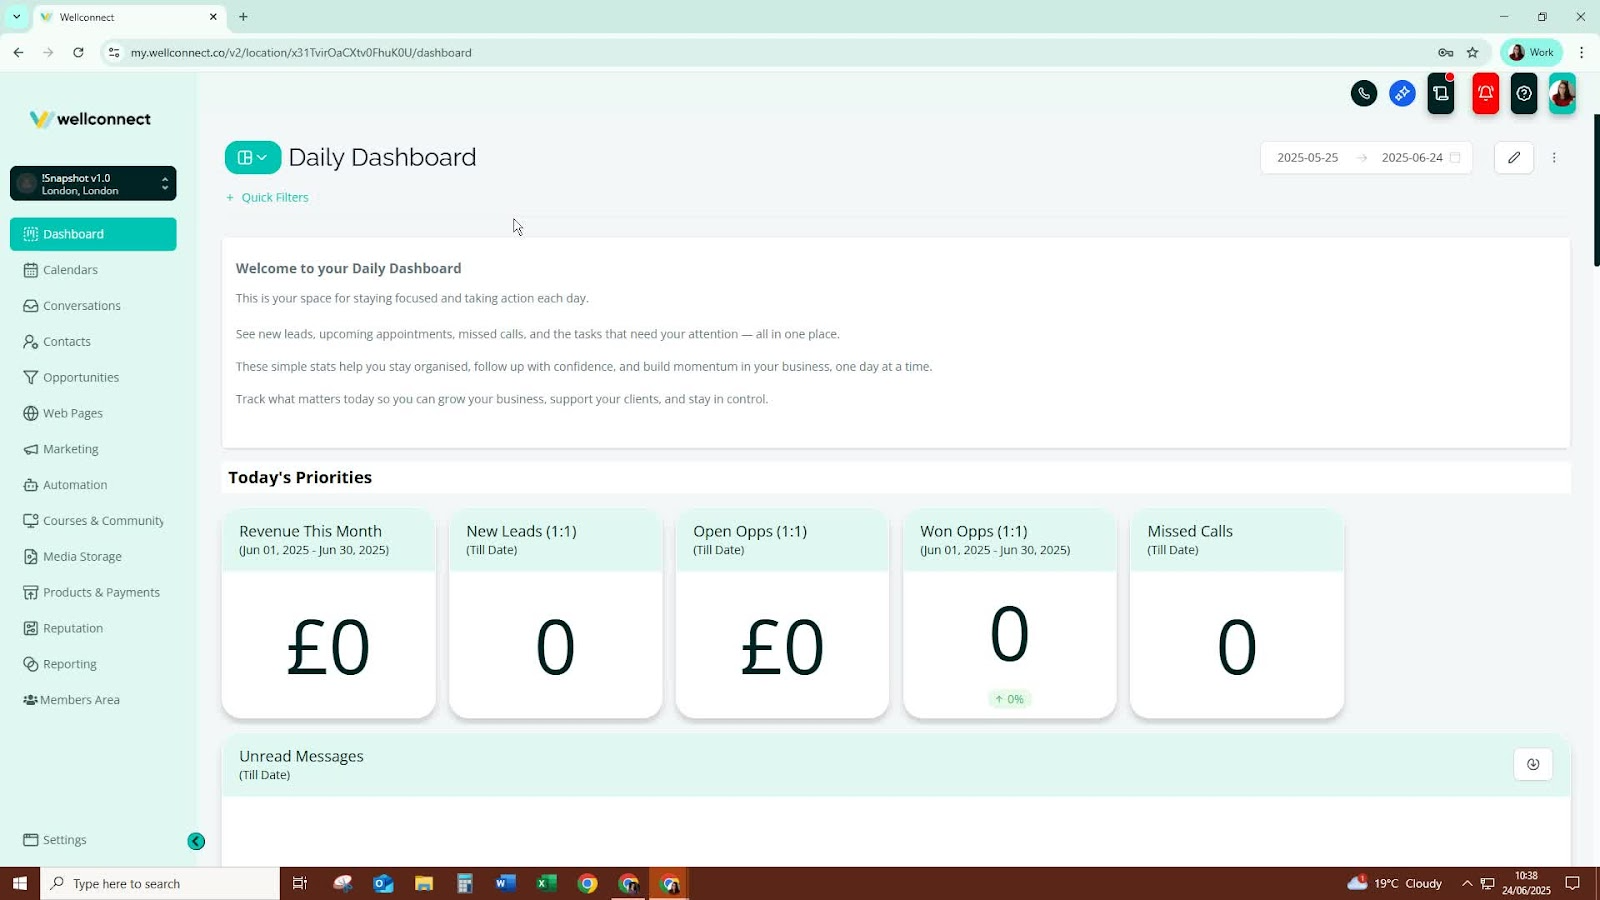
2. Navigate the Dashboard 0:32
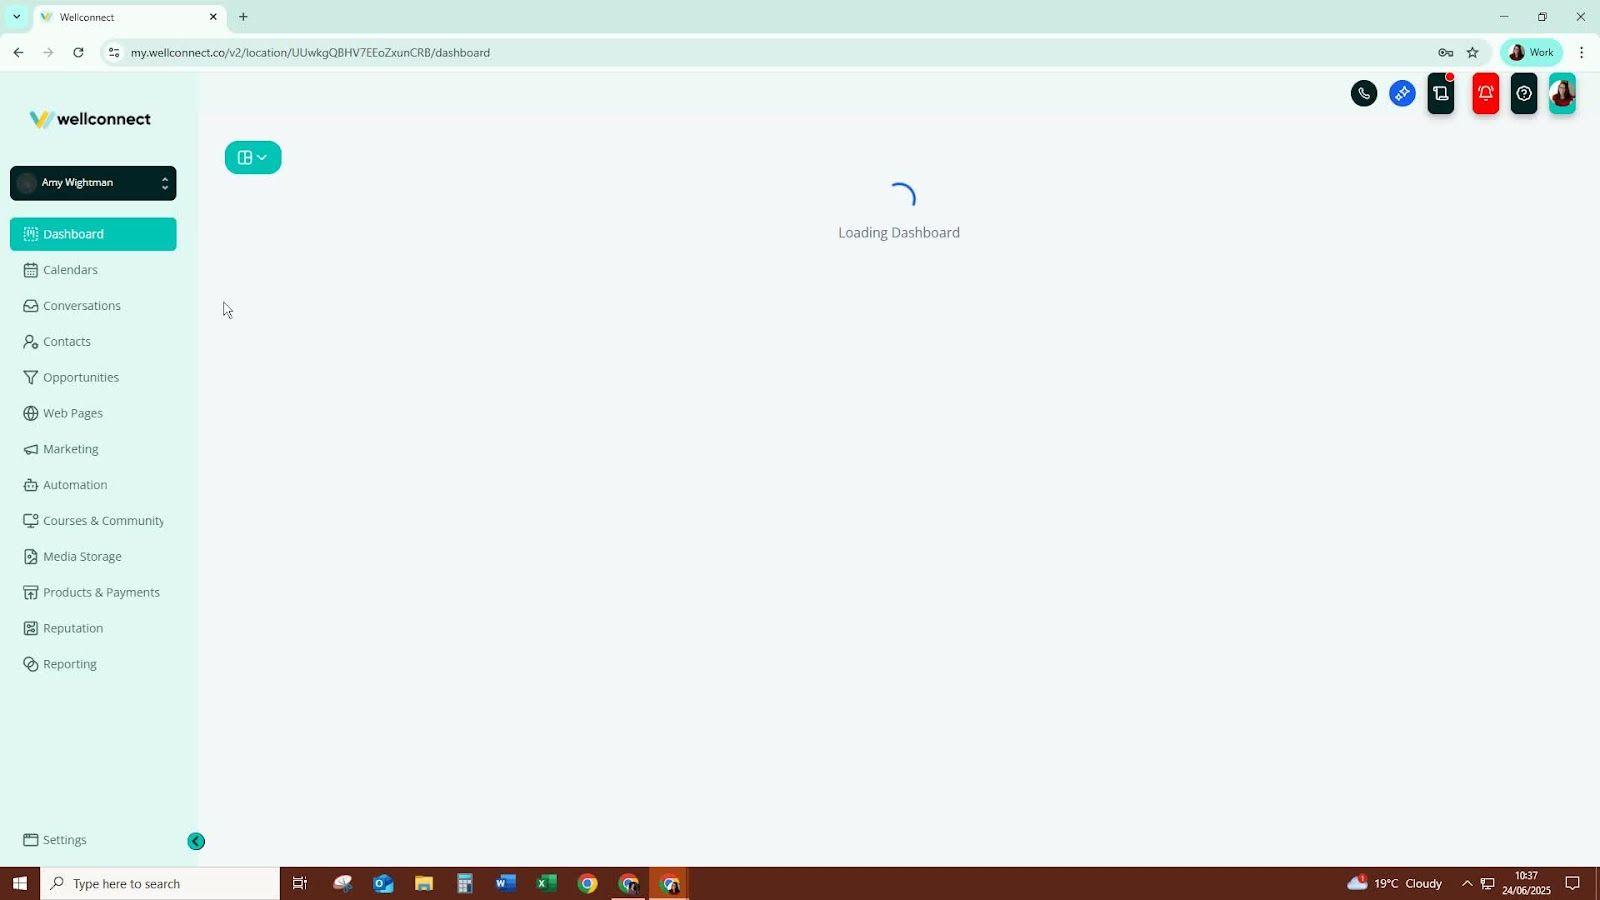
Upon logging in, you will land on the dashboard.
Familiarize yourself with the two available dashboards: Daily Dashboard and Growth Dashboard.
Ignore any error messages; they will resolve after setup.
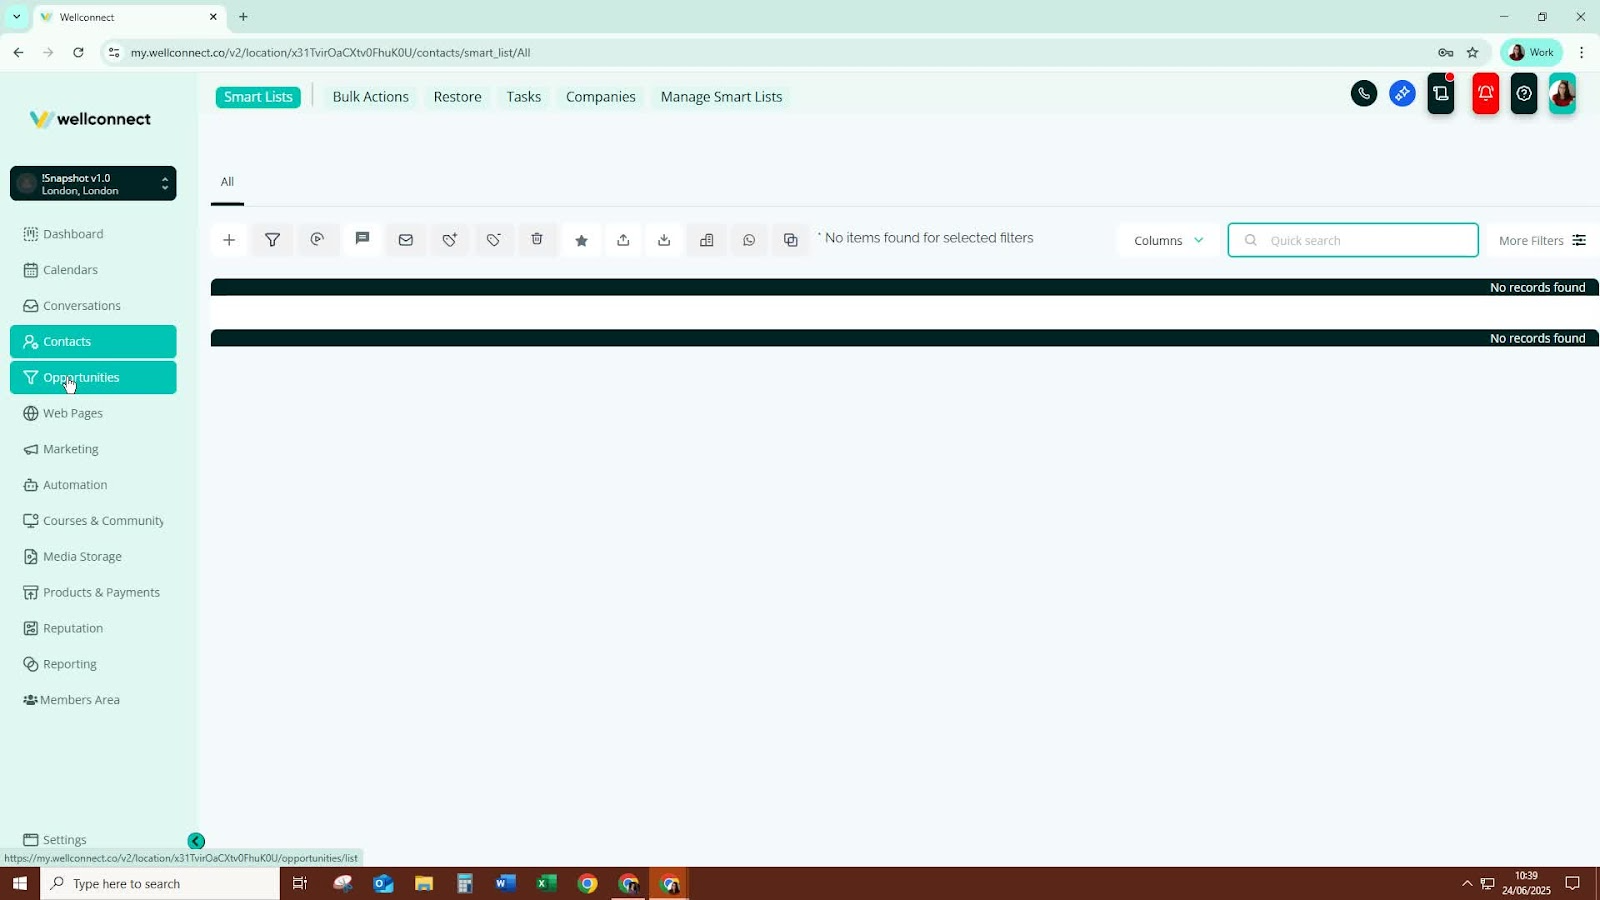
3. Explore the Menu Features 1:59
- Click on the menu to explore various features:
- Calendars: Connect with Outlook or Google Calendar.
- Conversations: Access your email inbox and contact details.
- Contacts Module: Search for contacts and manage smart lists and tags.
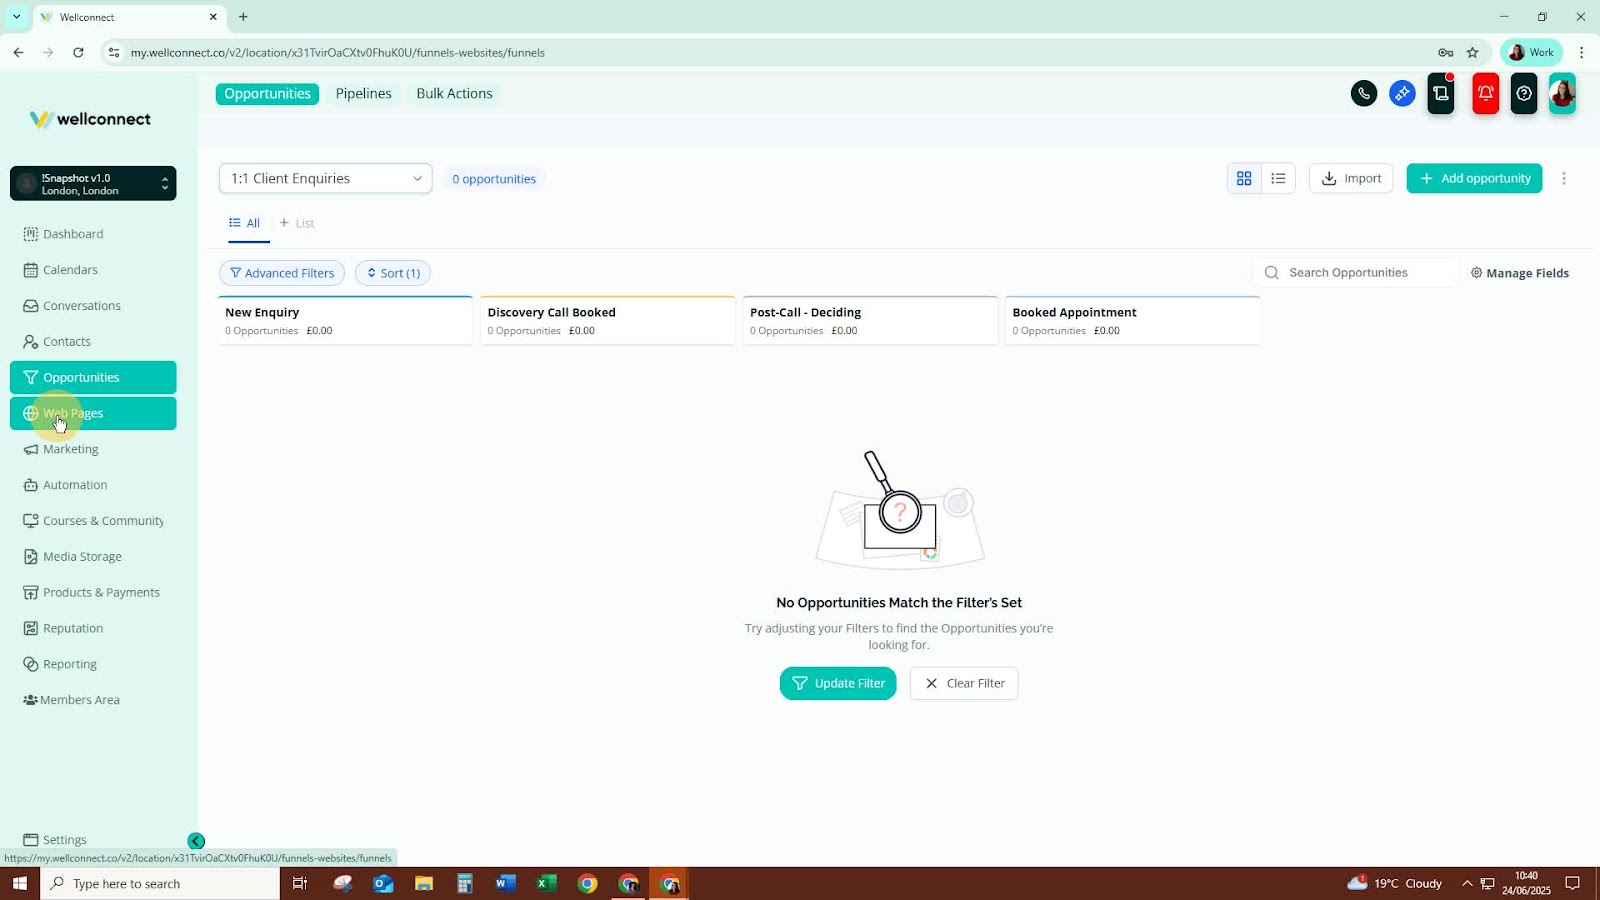
4. Manage Opportunities 2:57
Use the Opportunities module to manage inquiries and active clients.
Visualize and manage leads and clients through the pipeline feature.
5. Utilise Webpages Module 3:23
- Access the Webpages module to build sales funnels and customize website templates.
- Learn to set up your blog and connect forms for lead capture.
6. Create and Manage Forms 5:01
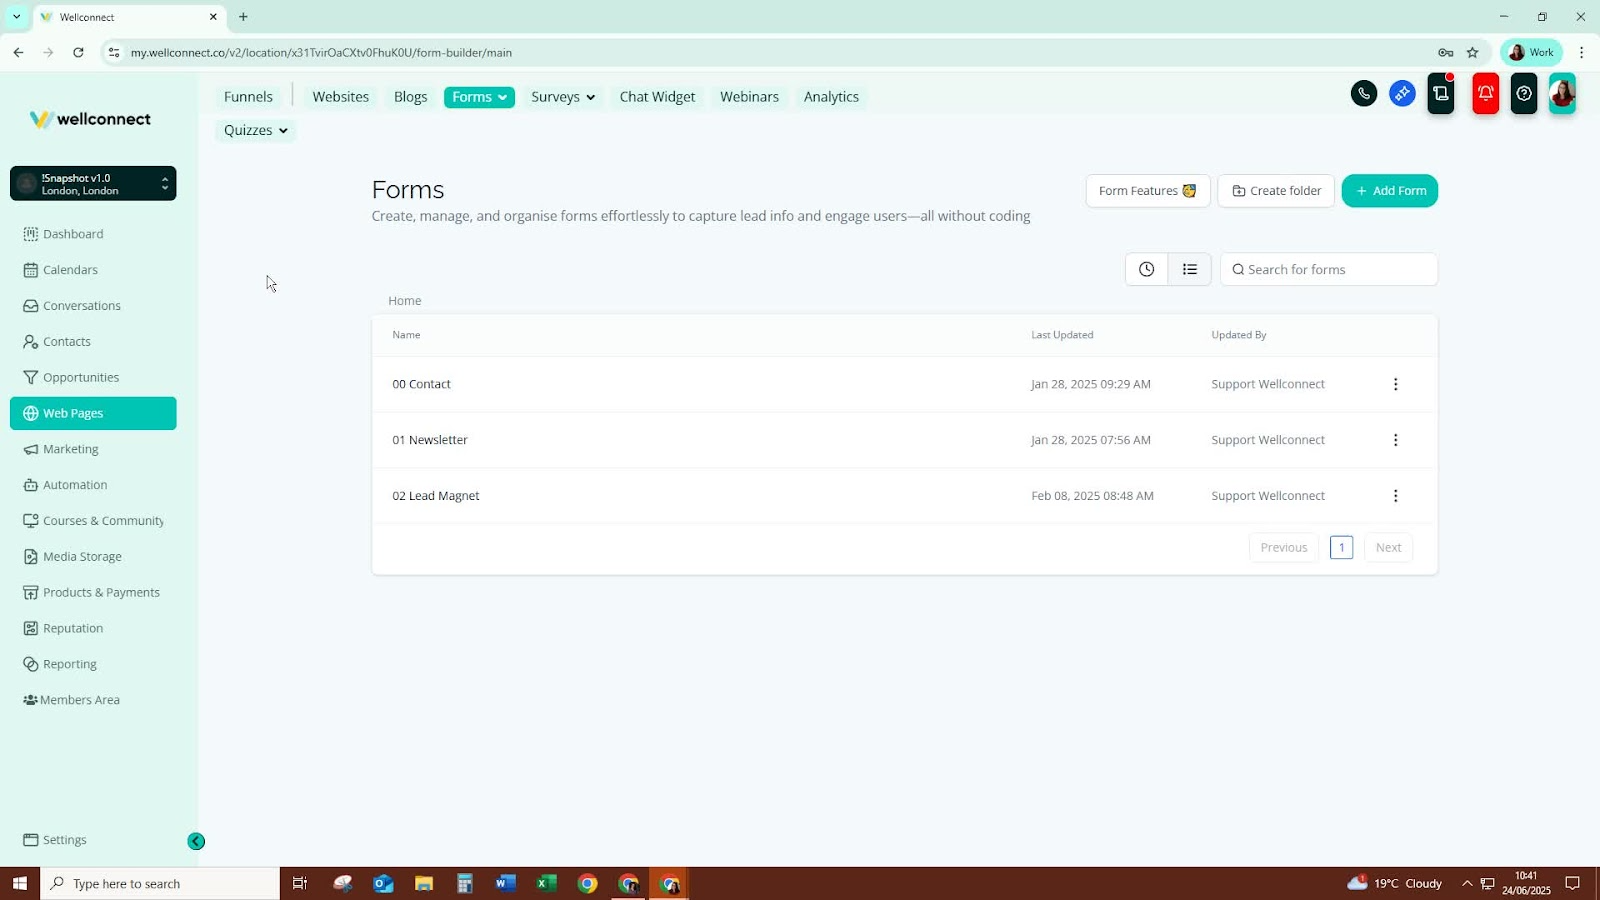
- Use the Forms feature to create various forms:
- Contact forms
- Newsletter subscription forms
- Lead magnet download forms
- Explore options for surveys and chat widgets.
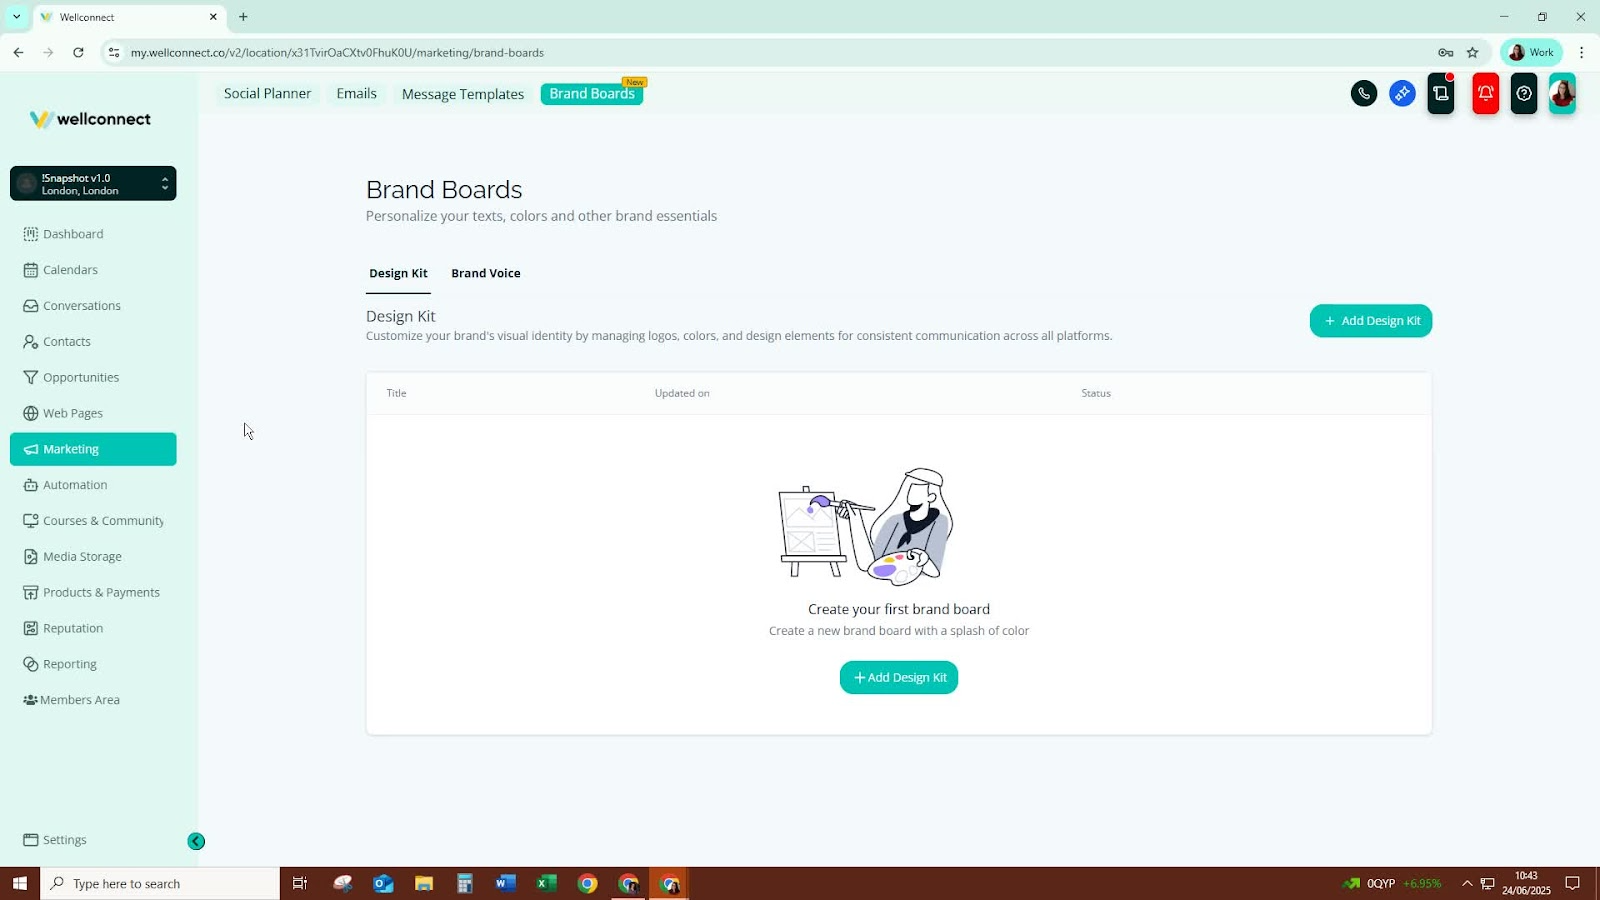
7. Set Up Marketing Tools 6:15
- Connect your social media accounts.
- Create and manage email campaigns and templates.
8. Automate Processes 6:38
- Explore the Automations folder for pre-set automation examples.
- Customise and publish automations for social media, lead magnets, and services.
9. Host Courses and Communities 7:15
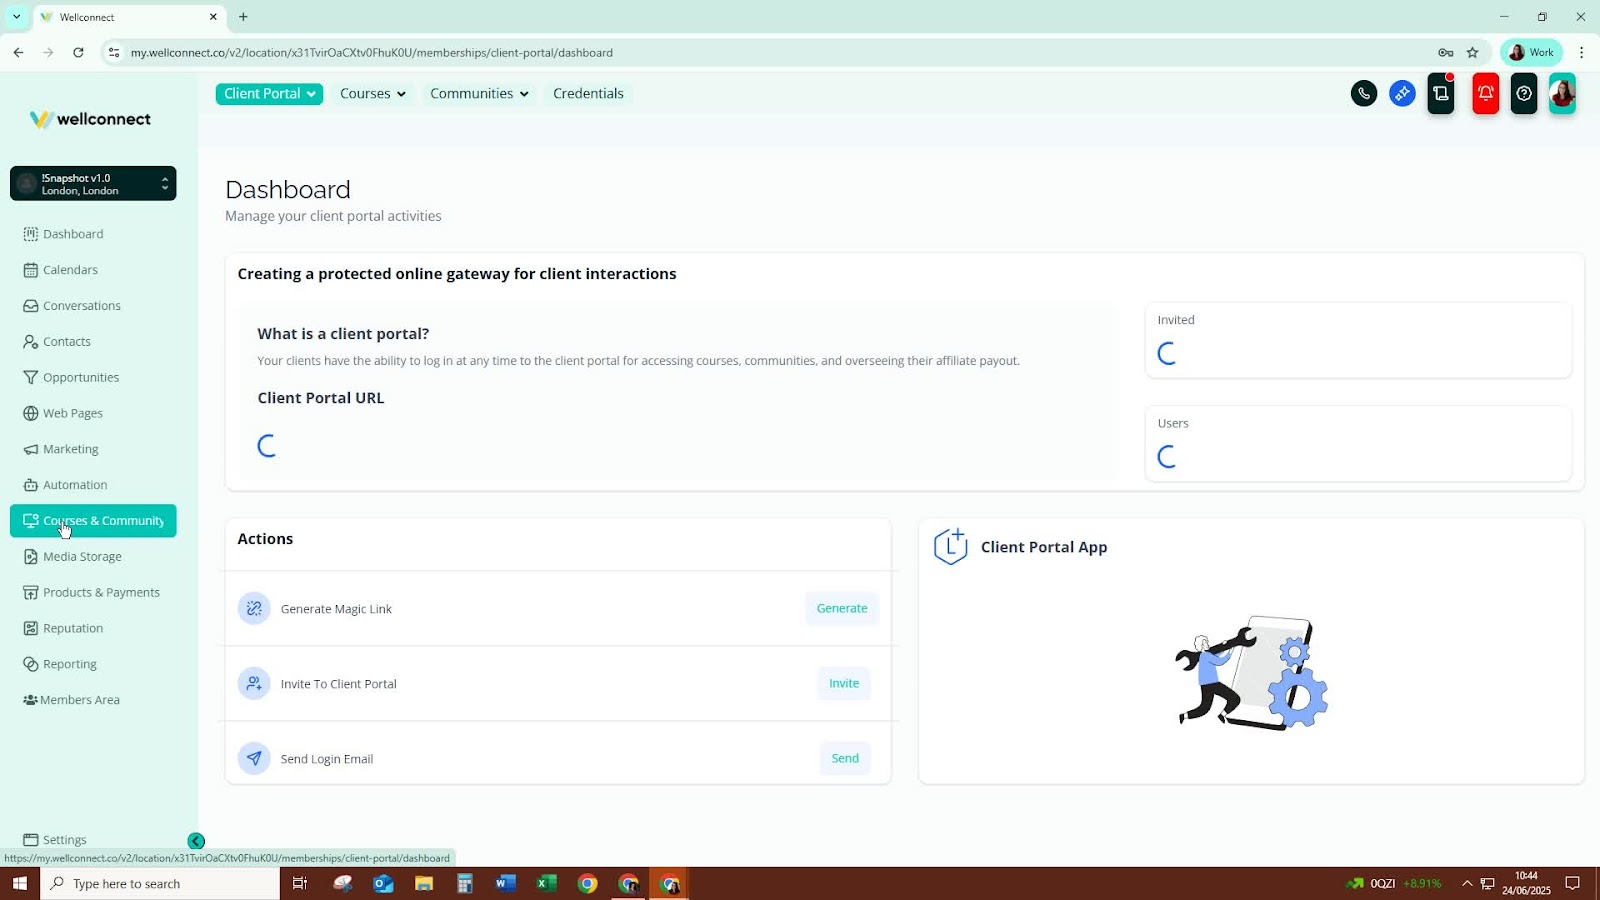
- Use the Courses and Communities module to create and host various course types:
- Evergreen courses
- Memberships
- Customize course content as needed.
10. Manage Products and Payments 9:11
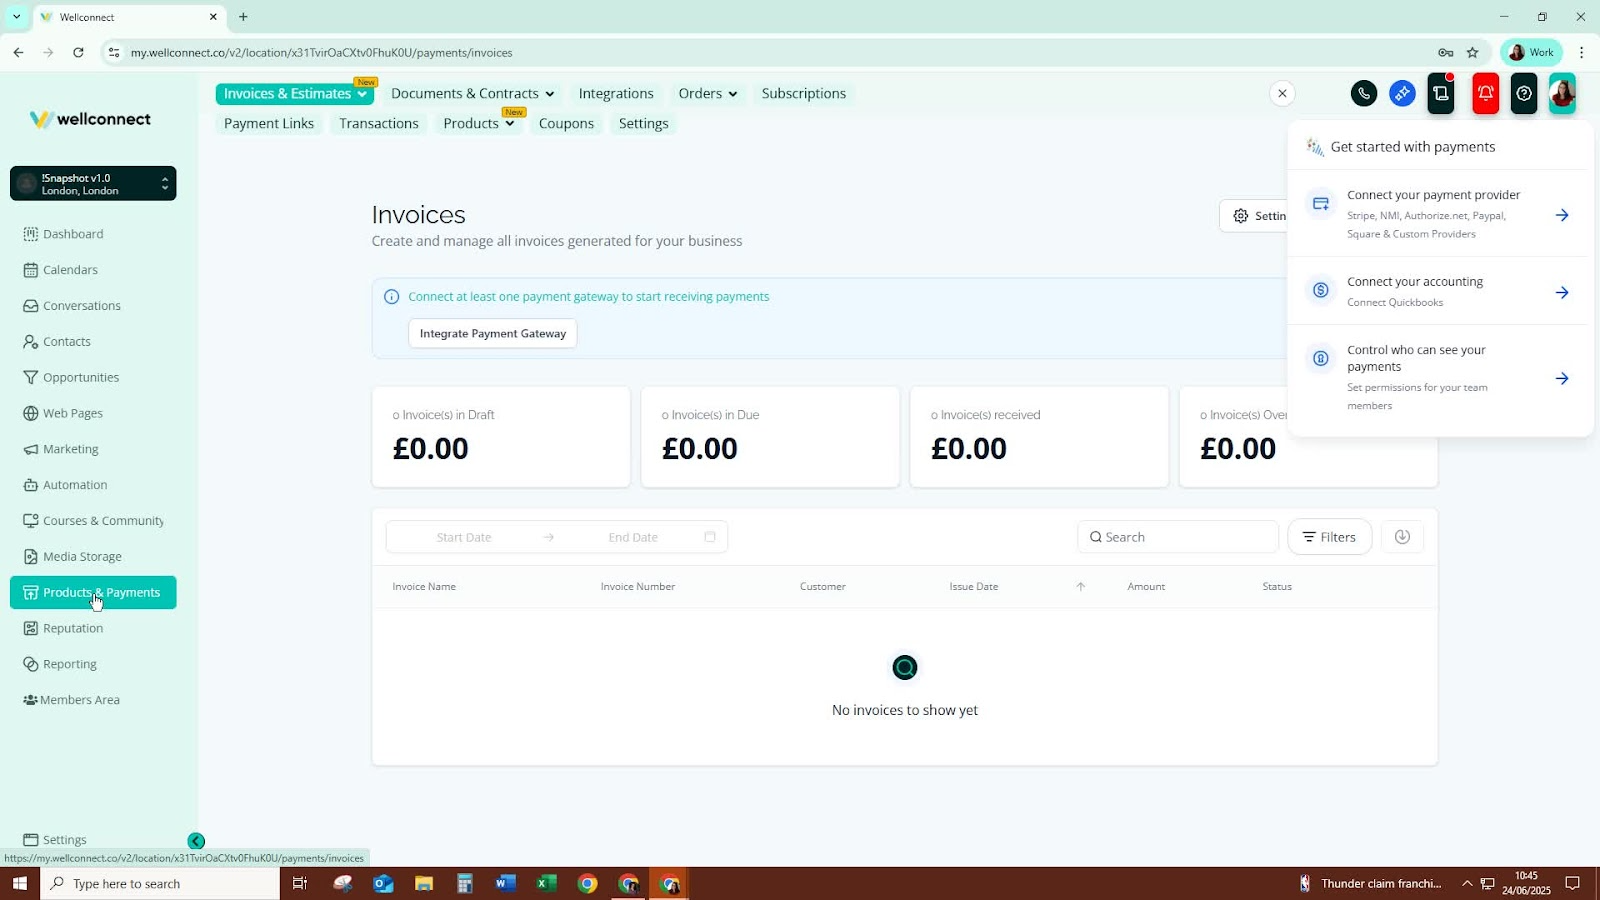
Access the Products and Payments section to:
Connect to Stripe for payment processing.
Create invoices, payment links, and coupons.
11. Collect Feedback with Reputation Module 10:18
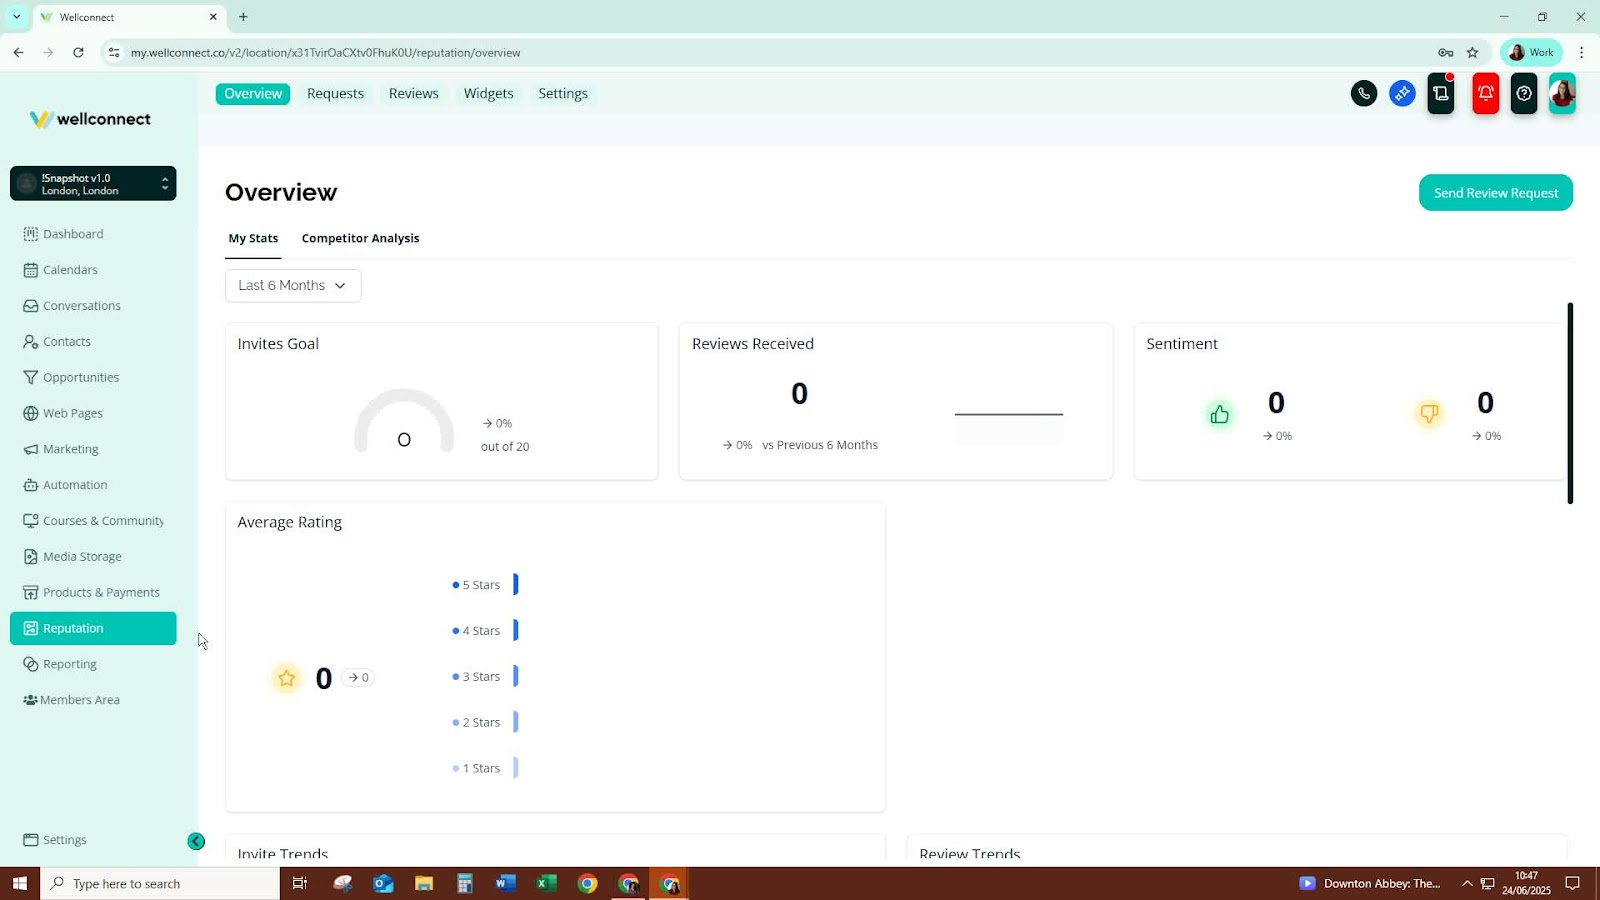
- Use the Reputation module to send review requests to contacts.
12. Generate Reports 10:39
- Utilise the reporting feature to create custom reports and analyze business performance.
13. Access Member Resources 10:58
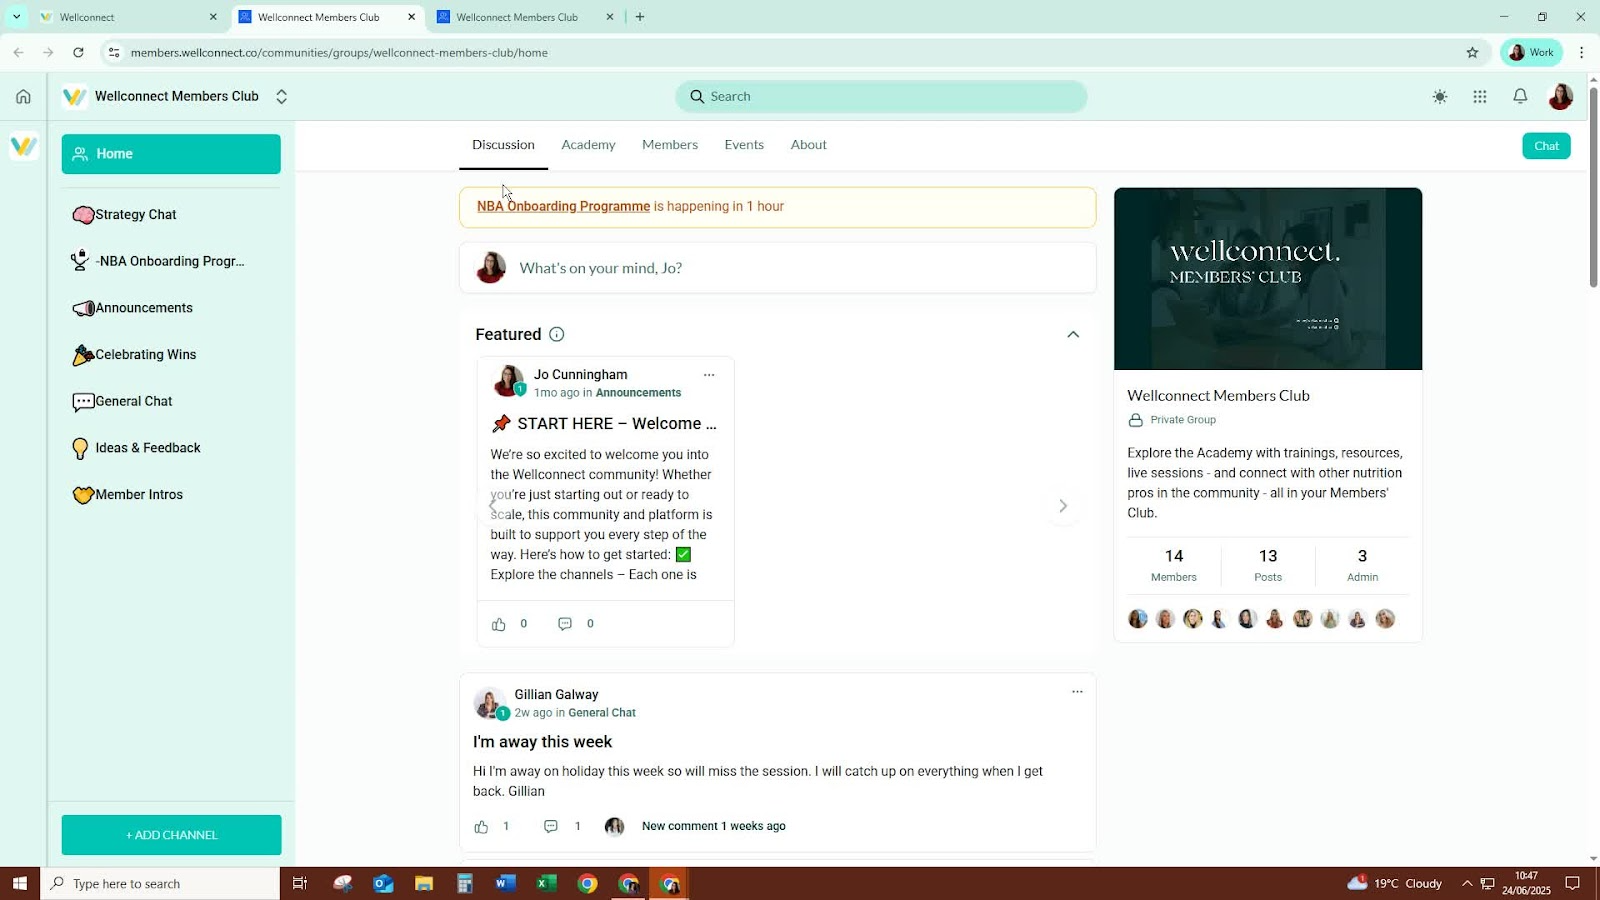
Visit the WellConnect members club for training resources and live session calendars.
14. Seek Support 11:39
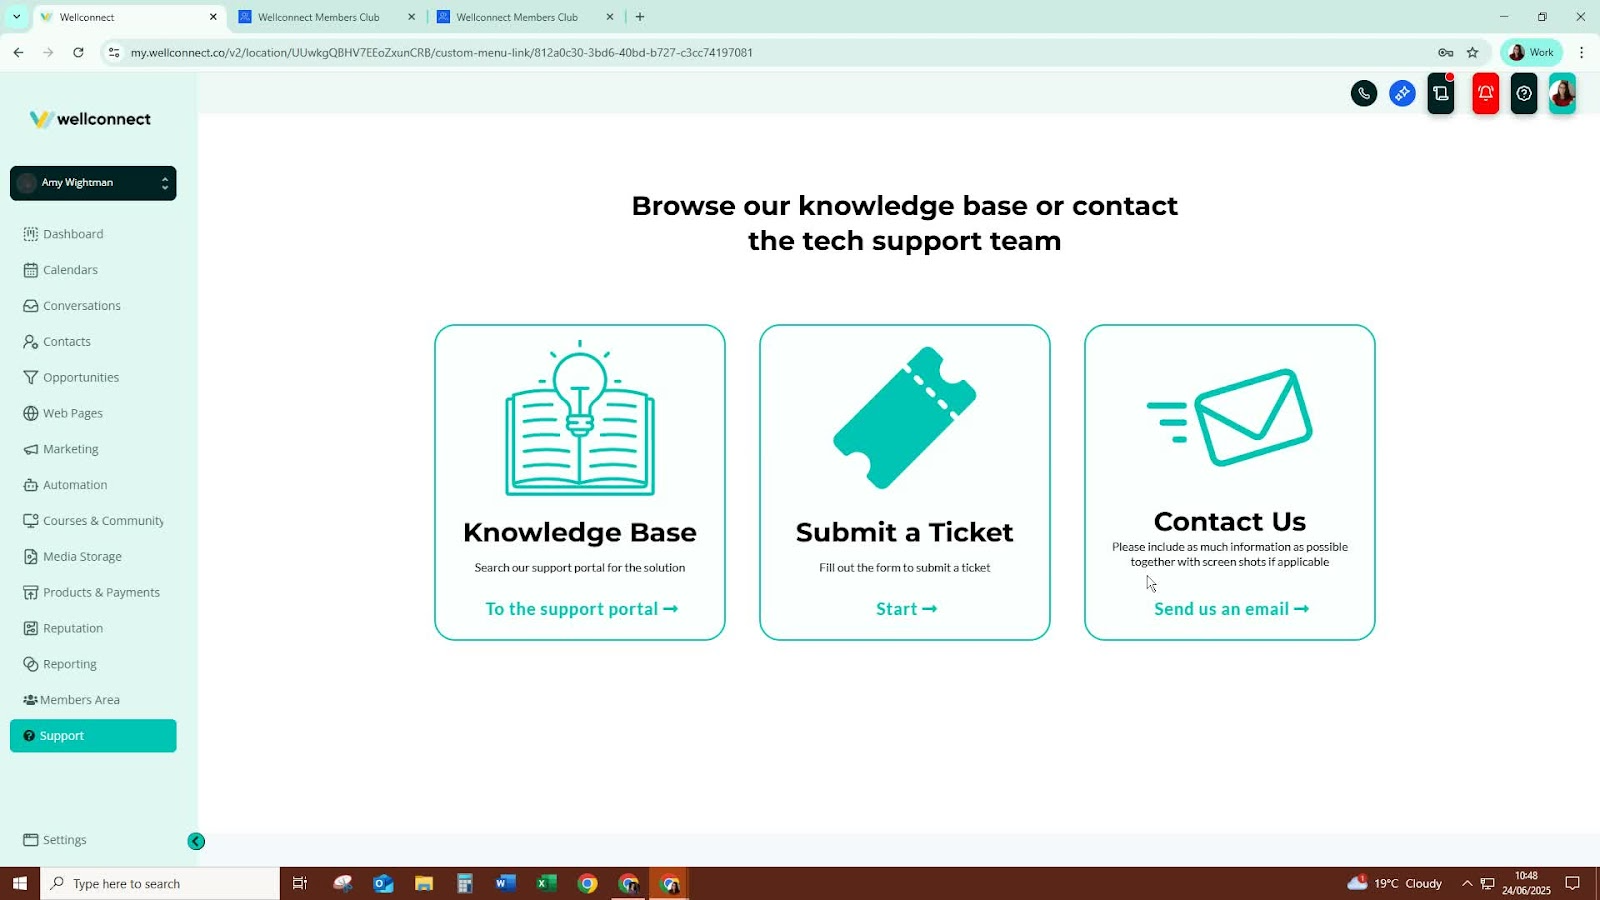
If you encounter issues, click on the support button to access support articles or submit a ticket.
Cautionary Notes
Ensure that all error messages are addressed during the setup process to avoid confusion later.
Regularly check for updates or changes in the WellConnect Business Suite features.
Tips for Efficiency
Familiarise yourself with the dashboard layout to navigate quickly.
Use keyboard shortcuts where available to speed up your workflow.
Regularly review and update your contacts and opportunities to keep your data current.
Was this article helpful?
That’s Great!
Thank you for your feedback
Sorry! We couldn't be helpful
Thank you for your feedback
Feedback sent
We appreciate your effort and will try to fix the article