Objective
This SOP outlines the steps to connect an email service using Lead Connector for effective email management.
TABLE OF CONTENTS
Video Guide:
Key Steps
Step 1: Access Lead Connector 0:00
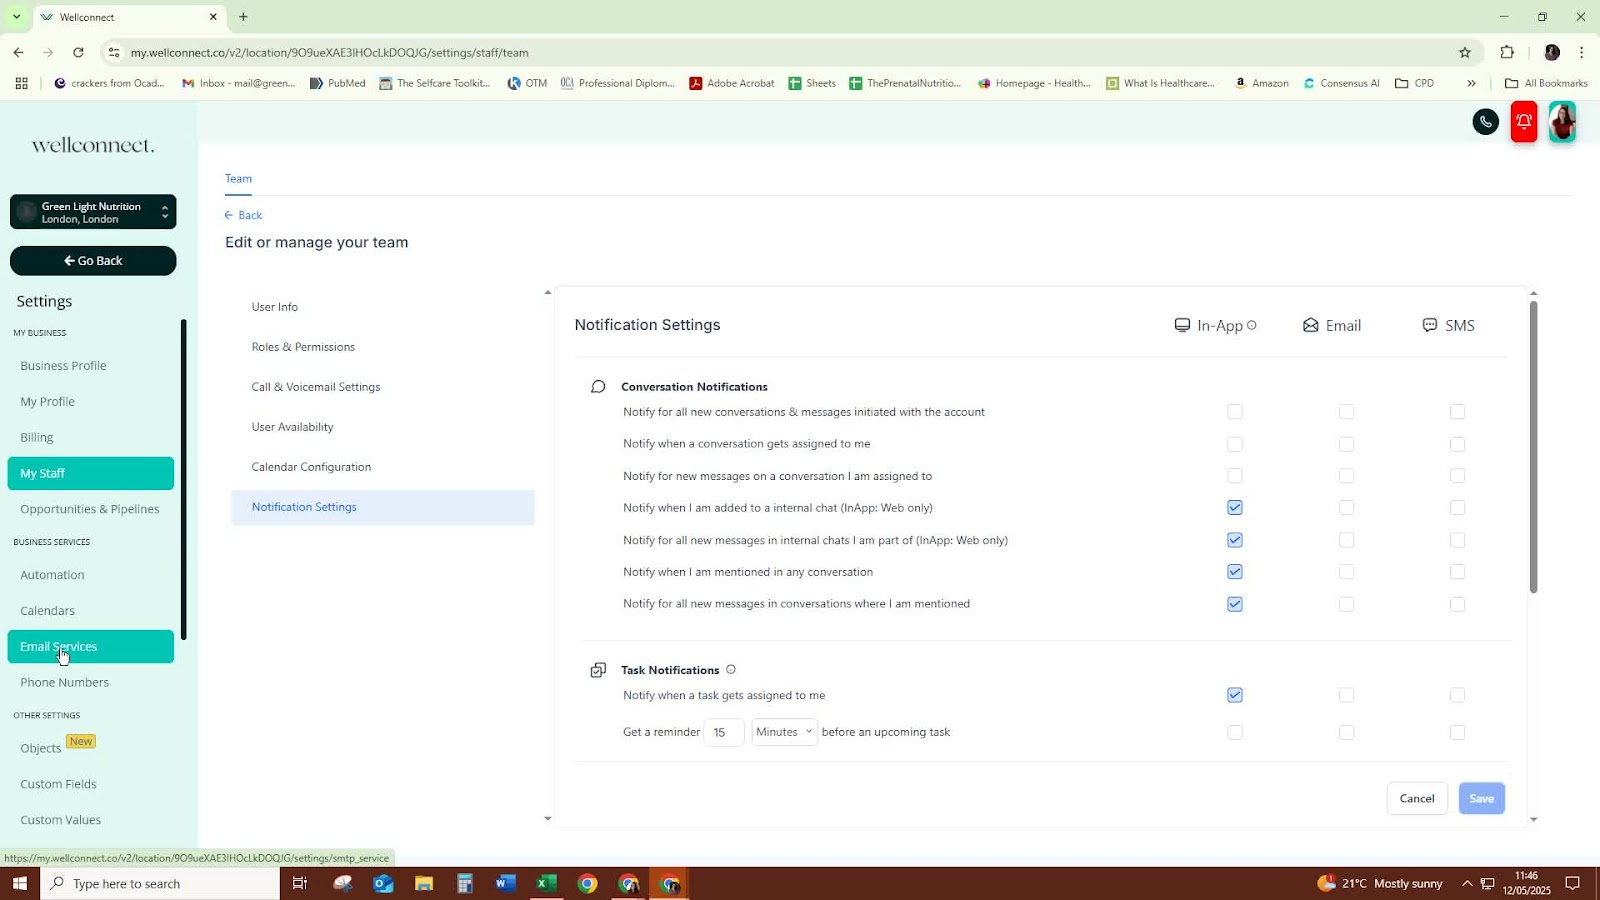
Open Lead Connector.
Ensure you have an existing setup for your organization (e.g., Greenlight Nutrition).
Step 2: Prepare Email Address 0:19
Identify the email address you want to connect.
Use a subdomain for the email address to facilitate email sending.
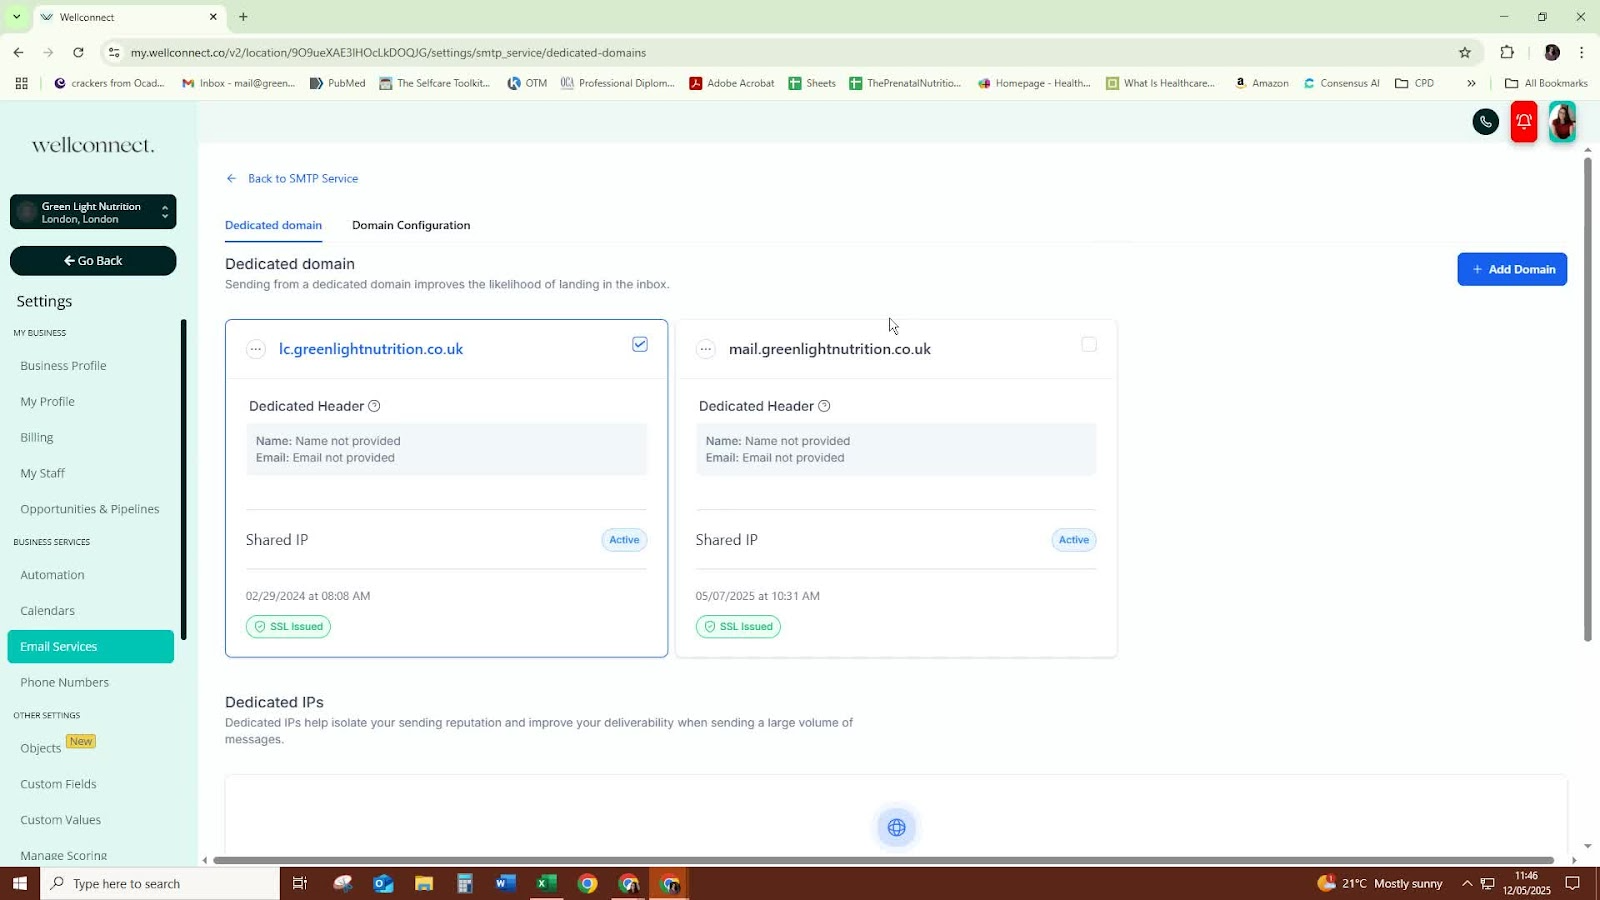
Step 3: Select Mail Service 0:31
Choose 'Mail' as the service option for simplicity.
Step 4: Connect Email to Domain 0:59
- Connect the selected email address to the designated subdomain.
- Ensure that Cloudflare is selected for seamless integration.
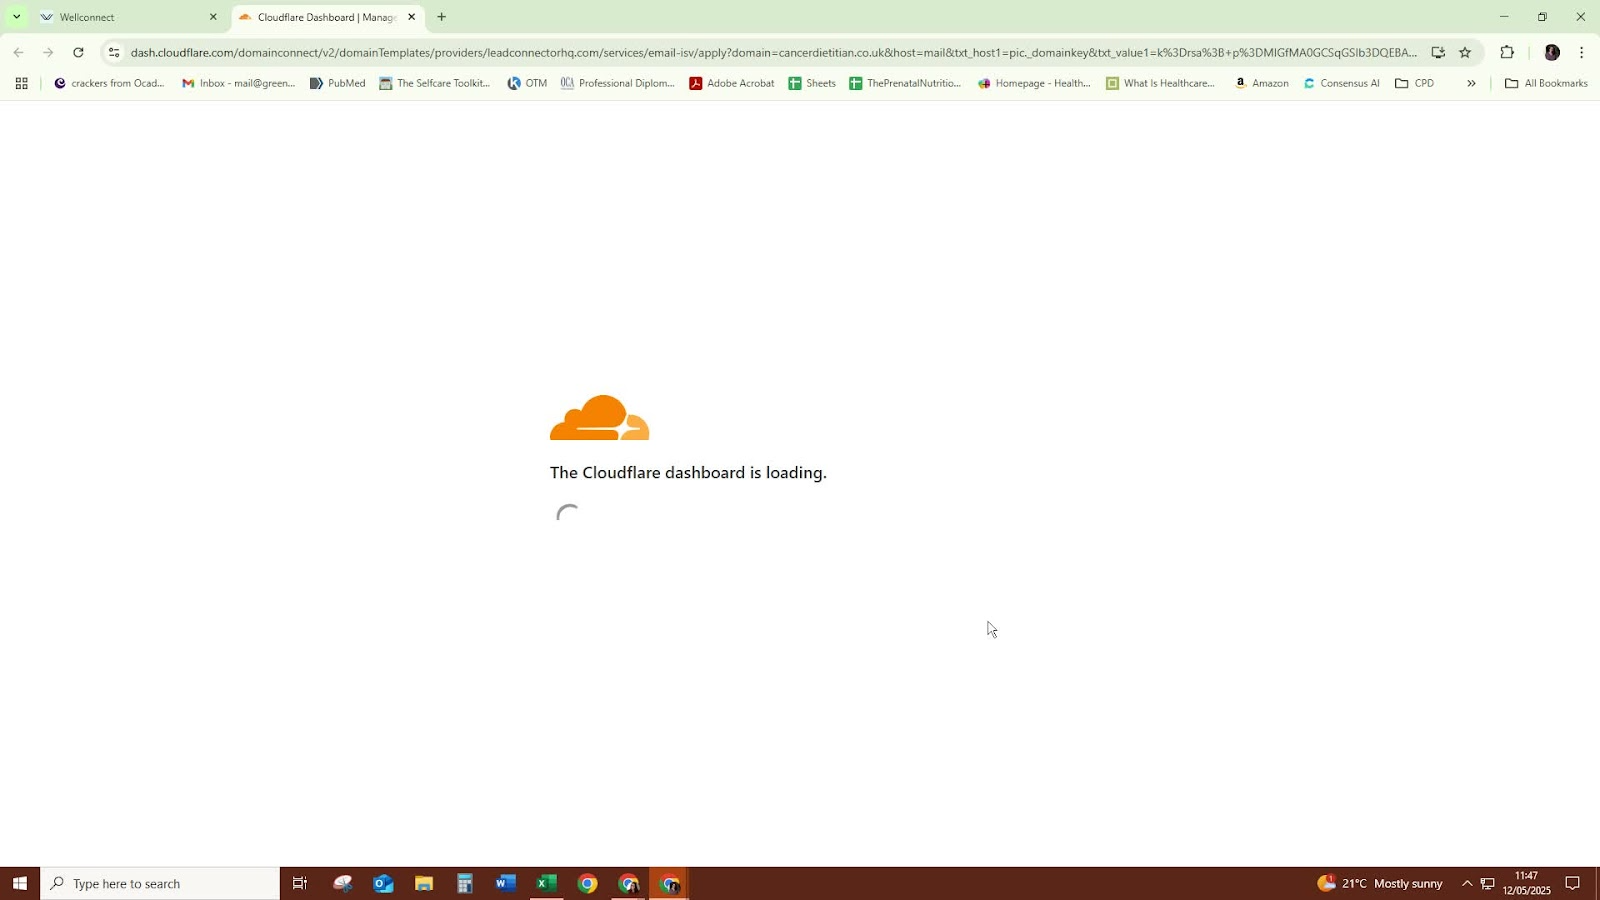
Step 5: Verify Domain 1:24

Click on 'Verify Domain' to authorize Lead Connector.
Be patient as it may take some time for the verification process to complete.
Step 6: Check Verification Status 1:34
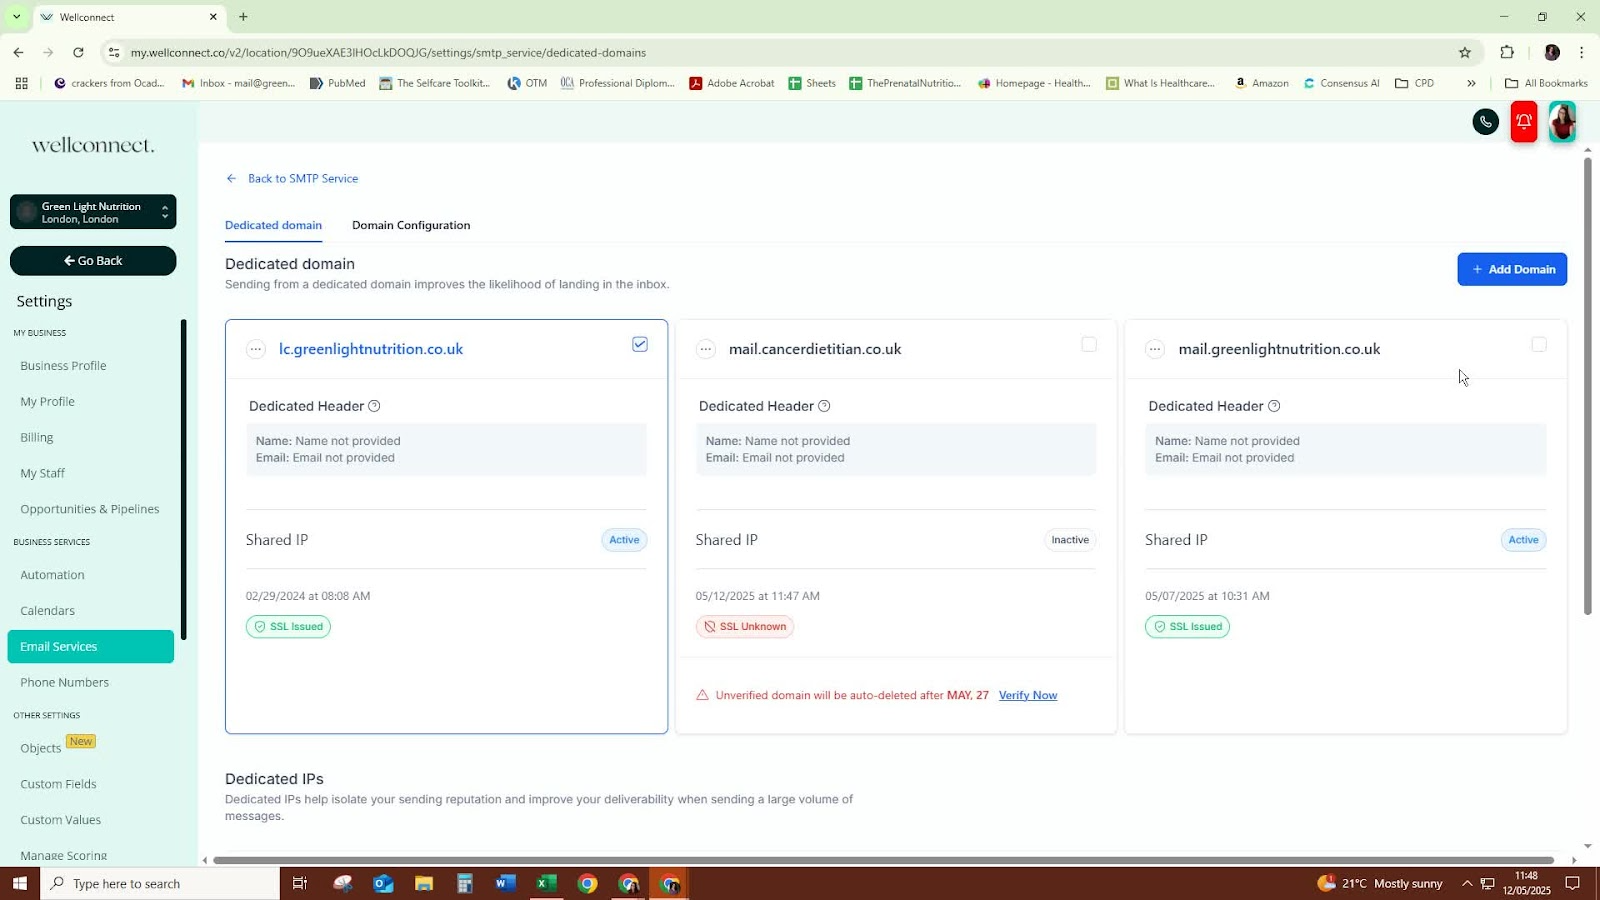
If verification does not appear immediately, repeat the verification process.
Continue checking until all domains are verified.
Step 7: Confirm Activation 1:49
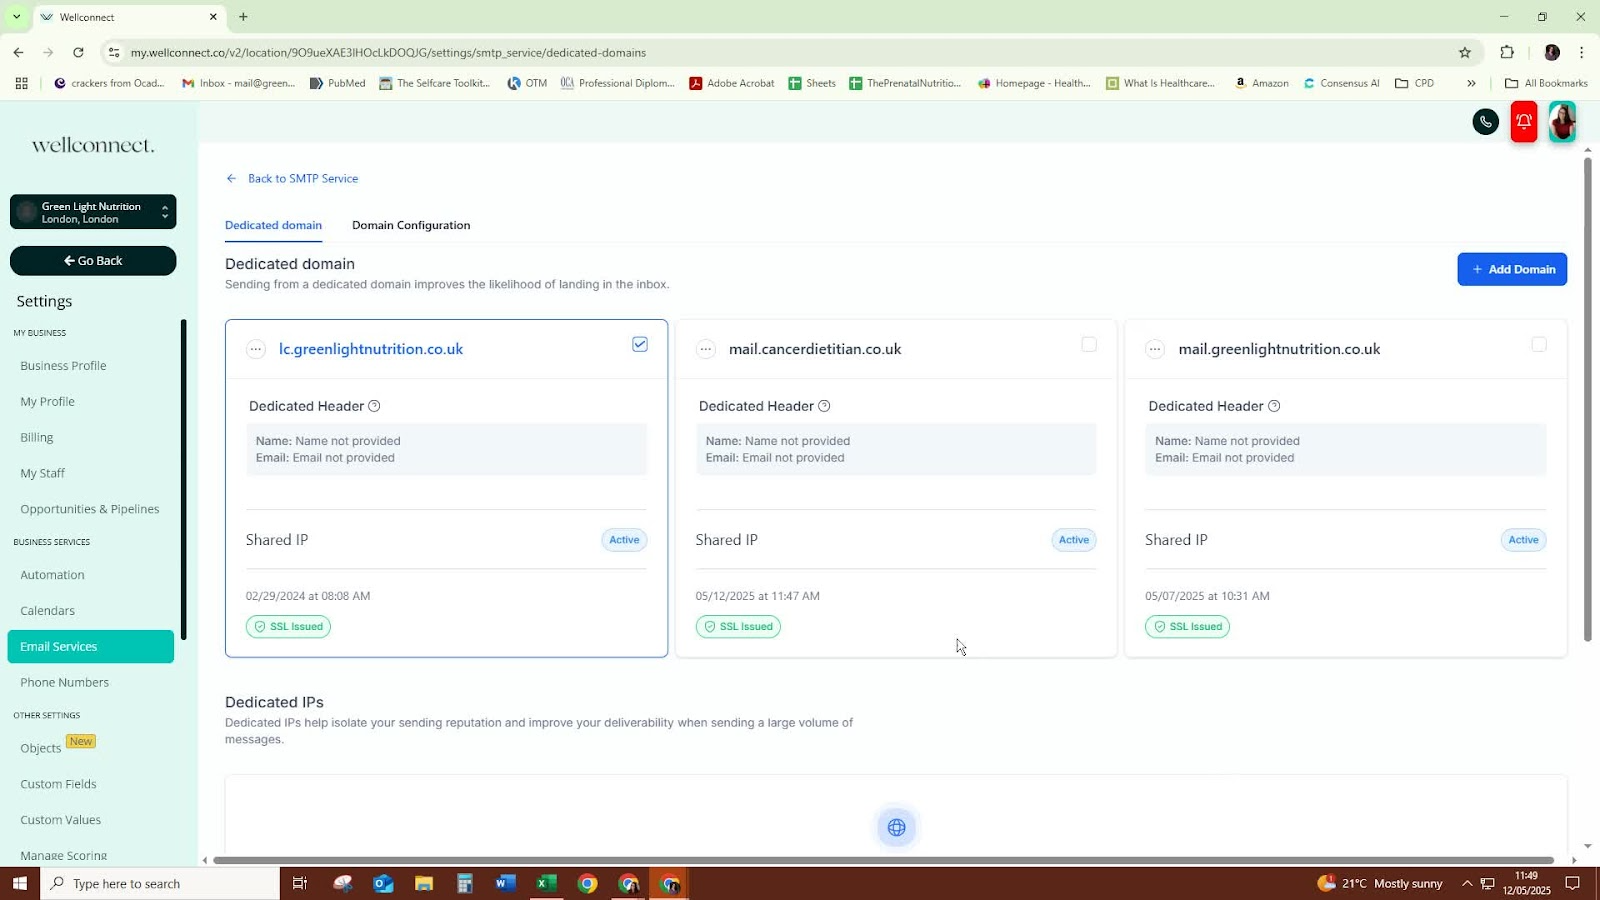
Once verified, confirm that the email service is active.
The email is now ready to be used within the software for sending messages.
Cautionary Notes
- Ensure that the subdomain is correctly set up before attempting to connect.
- If verification fails, double-check the domain settings and try again.
Tips for Efficiency
- Use a consistent naming convention for subdomains to avoid confusion.
- Keep a checklist of steps to ensure nothing is missed during the setup process.
Was this article helpful?
That’s Great!
Thank you for your feedback
Sorry! We couldn't be helpful
Thank you for your feedback
Feedback sent
We appreciate your effort and will try to fix the article